Identity consists not only of logos, but of typographic style, imagery choice, visual and written voice, advertising methods, as well as the obvious elements like color palette. Every piece of contact from your company, whether printed or digital, should be of a consistent design; it should have your company’s fingerprint on it. That doesn’t mean everything looks exactly the same; your brand should be adaptable but consistent enough to be recognizable as one entity.

Objective
You will be expanding the identity of the company you’ve created by creating a flyer and a business card for the company, as well as a datasheet which covers the basics of your visual identity.
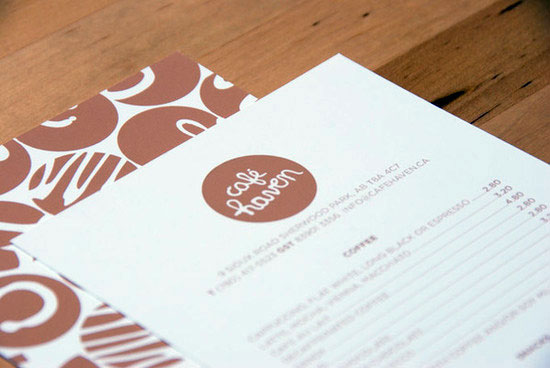
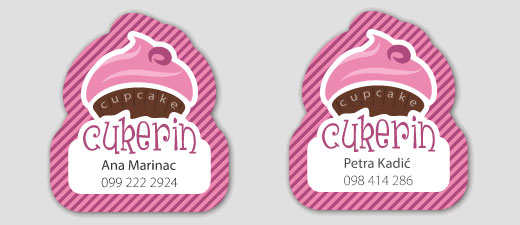
Business Card Specs
- White cardstock or heavier
- 2-sided print (no glue)
- 3.5 x 2 inches (vertical or horizontal) – variations MUST be approved
- CMYK, printed on white paper, unless your concept and identity dictate otherwise. Variations MUST be approved. (The logistics of your decision, such as cost, will be discussed). Do not show up on critique day with your items printed in a way that has not been discussed. A client will not accept that; neither will I.
Business Card Requirements
- Company Name
- Employee Name (if appropriate)
The spot for the employee name should allow for names of varying lengths. If you use a different address, the card should design should still accommodate one of this length.
- Phone number
- 194 South Washburn Street
- Austin, TX 73301
- info@[businessname.com]
- Logo
Brochure Specs
- 11×8.5in, folded to a tri-fold brochure
- CMYK on white paper, unless your concept and identity dictate otherwise.
- Brochure Template : open in Illustrator to see Front and Back layers
Brochure Requirements
You will be creating a brochure for your company. You will further brand your company by expanding on its vocabulary of visual elements, including typography, imagery, illustration, physical structure, and tone. Your brochure should, in most cases, be a general information piece rather than an event-specific one.
Your flyer must contain at least the following:
- A description/overview of your company that is informative and well-written. The prominence of this info will be determined by the type of flyer you’re creating.
- Mission Statement
- At least one image or illustration that reflects your company or your flyer’s subject (event, promotion, etc). This imagery should be a cohesive and appropriate extension of your company’s identity. Any imagery taken from external sources must be documented. Any imagery for which the source is not identified will be disallowed. It is best to take your own imagery or create your own illustrations.
- A vector map for the location. Keep it clean and simple.
- Location / Contact information
- Logo / Branding
Variations from these requirements, based on the appropriateness for your company type, must be approved.
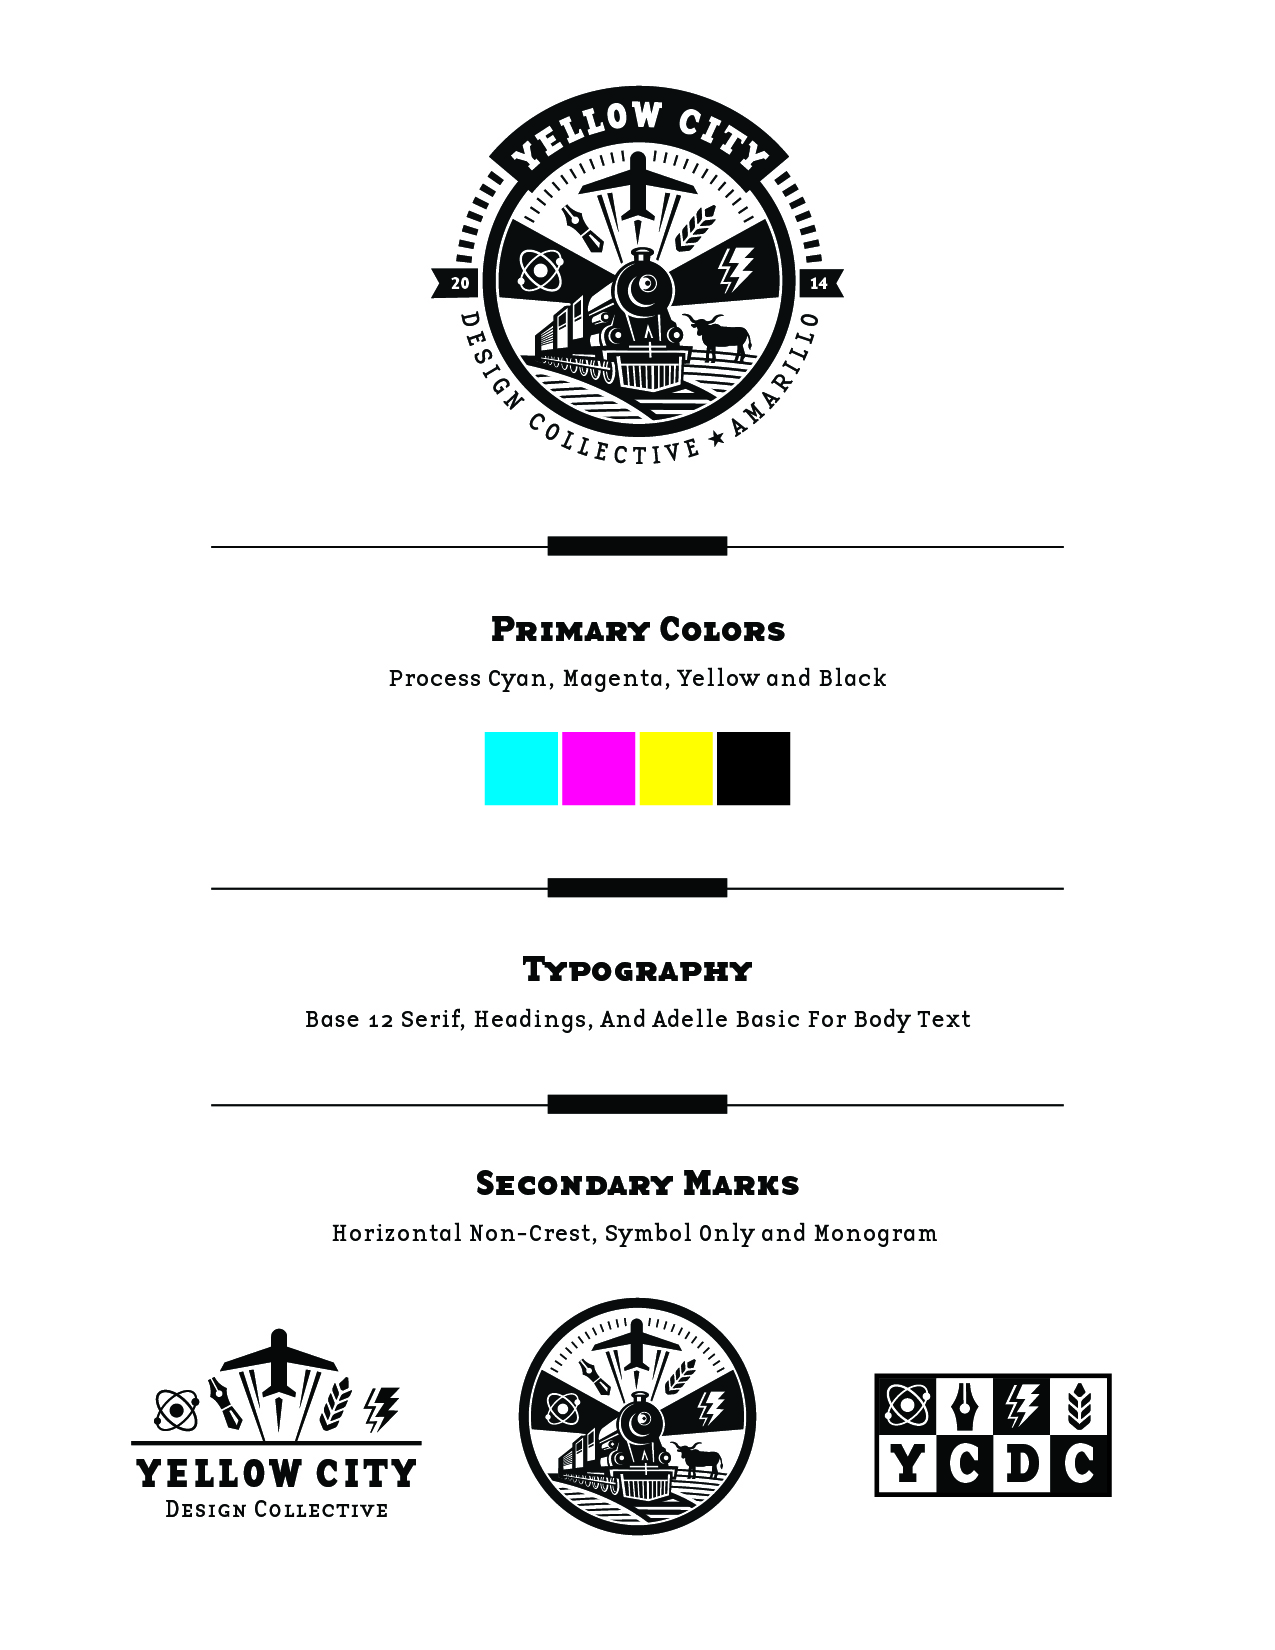
Data Sheet Requirements
Your data sheet should display the basic elements of your identity, including logo treatments, colors, and typography. The design of the data sheet itself may also reflect the direction of the identity. The sheet should show the variations of your logo, and how the logo can adapt to various treatments, included showing it in dimension. It can also include other stylistic elements which further show how your brand will work, such as banner treatments and embellishments.
You must have at least the following elements on your data sheet:
- Black and white logo
- Logo with up to two colors
- Fully rendered logo if you further stylize it in your collateral
- Documentation of typography used
- A light-on-dark version of at least the one color logo
- An illustration of the location branded with your mark(s) and colors/patterns.
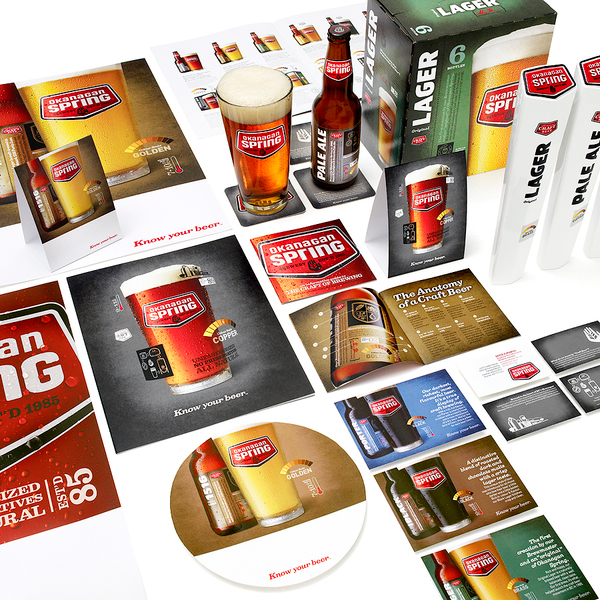
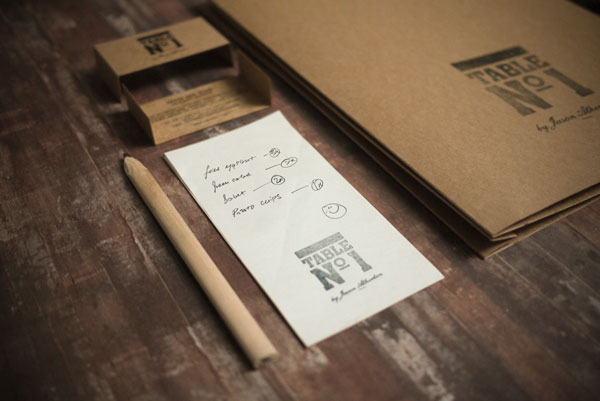
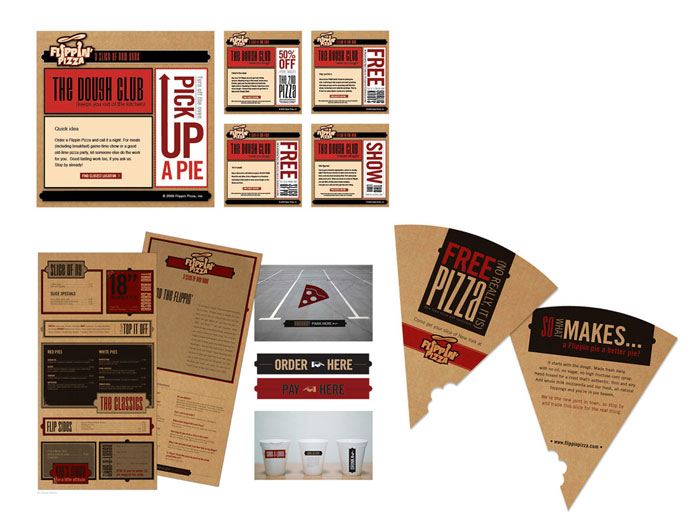
Here’s a couple examples, but yours will likely vary, such as including swag, merch, and the building:
Further details are listed in Step 4.
—–
Instructions
Step 1
Begin gathering content, researching the style of your project, developing a concept for your piece and creating sketches to explore ideas. You should also gather at least ten images that give an idea of where you’re going with your project. These might show styles, textures or image style that you’d like to use.
A rapid version of the logo sketching process is recommended to put your ideas on paper. Come to class by the day after project assignment with 3 concepts (sets of sketches) for what your brochure and card will be and the inspiration images. For your layouts, you may begin the business card or brochure first; my recommendation is to tackle the brochure first, as it will generate more content and style to be distilled onto the card. Concepts for collateral and some exploration of visual style through sketches and gathered images are recommended.
Step 2
After discussing your concept(s) and getting it approved, continue developing your content, and gather and/or create any imagery needed for the project. Any imagery taken from external sources must be documented. Any imagery for which the source is not identified will be disallowed. It is best to take your own imagery or create your own illustrations.
Step 3
Once a solid direction is chosen, begin to create your digital version. For each piece (brochure and card), you may create one file for the front and one for the back, or just use layers or artboards. In any case, your final versions should each contain the front on one layer/artboard, and the back on one layer/artboard. You will be submitting a 2-page pdf proof of each piece as well (as they’re double-sided). You can use Photoshop to create imagery, but your final working file(s) to be submitted should be Illustrator files, with any linked imagery placed in the same folder.
Step 4
Create a data sheet (13 x 19in) that gives an overview of your brand. It should document your chosen colors, show how the mark will work in diverse scenarios, document the typefaces chosen, and show the variations of your mark.
Step 5
When your project is ready for completion, create a two-page pdf proof for each collateral piece, naming each piece appropriately (brochure.pdf, card.pdf, datasheet.pdf). Be sure your Illustrator files are named in an intuitive way; for example, card.ai, brochure.ai (or -front and -back versions if you created separate files for these). Place your working files and pdf proofs in a folder named [lastname_firstinitial_project2] and place them in the drop box by the beginning of class on critique day.
In your folder:
- PDF Proofs of each piece
- Illustrator working files (and any linked images)
- Data sheet
You must also present a physical copy of each piece (not the mock-ups, but the poster of them which is the data sheet). Brochures must use double-sided printing, so plan your time so that you can create a clean, professional printed version of each piece.